
Resin Coasters with Custom Photos: DIY Tutorial
Disappointed there isn't much Oblivion swag? So was my wife, Meg, who is obsessed with Oblivion (it's kinda hard not to be—Oblivion is, without a doubt, one of the greatest video games ever made).
This DIY coaster tutorial shows you how to make custom photo coasters using tiles, Mod Podge, and epoxy resin.
We needed coasters (about a year ago) and Meg got the brilliant idea to make a set of coasters with each of the cities in Cyrodiil! And she was off to the research station (the Interwebs).
- Time: 3-4 days (with drying time)
- Active Time: 2-3 hours
- Cost: ~$40-50
- Difficulty: Intermediate
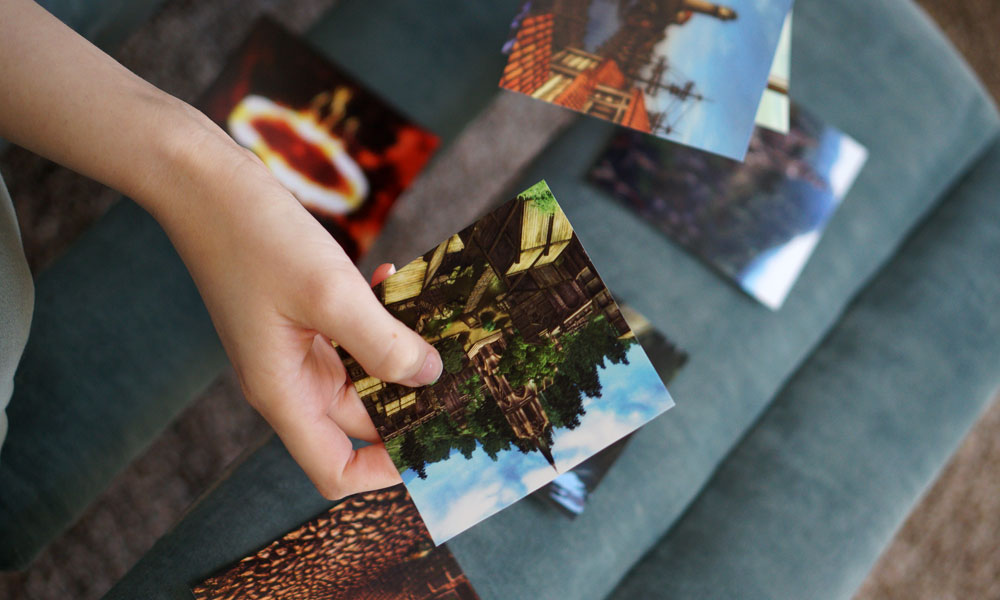
After collecting 9 high resolution graphics of the cities and buying most of the materials we needed, we moved, and all the materials got lost in the move! Over eight months later we miraculously found the box with the tiles and supplies in them, hidden away on a top shelf in the kitchen. The opportunity was upon us and Meg printed the graphics, bought the last few materials, and went into nerdy DIY crafting mode!
Here is how to make your own custom nerd coasters.
1. DIY coaster materials
- Tiles at the size of your choice (we used 4 1/4 inch tiles)
- Graphics or photos printed on heavy stock paper
- 2mm Foamies sheets (enough to cover the bottoms of all your tiles)
- Mod Podge adhesive
- Foam brush
- Envirotex Lite - High Gloss Resin
- Recyclable raised stands (yogurt containers, cans, etc.)
- 2+ plastic cups
- Paint (optional)
2. Cut the prints
Cut the prints to the dimensions of the inner-most point of the tile's rounded edges.
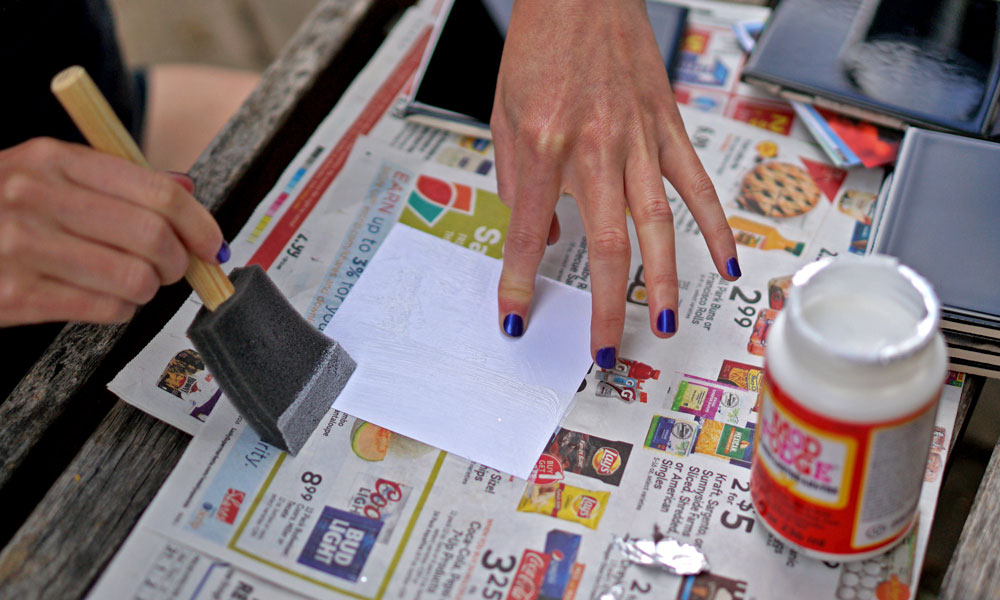
3. Attach the photos
Apply Mod Podge to the backs of the prints and attach them squarely to the tops of the tiles.
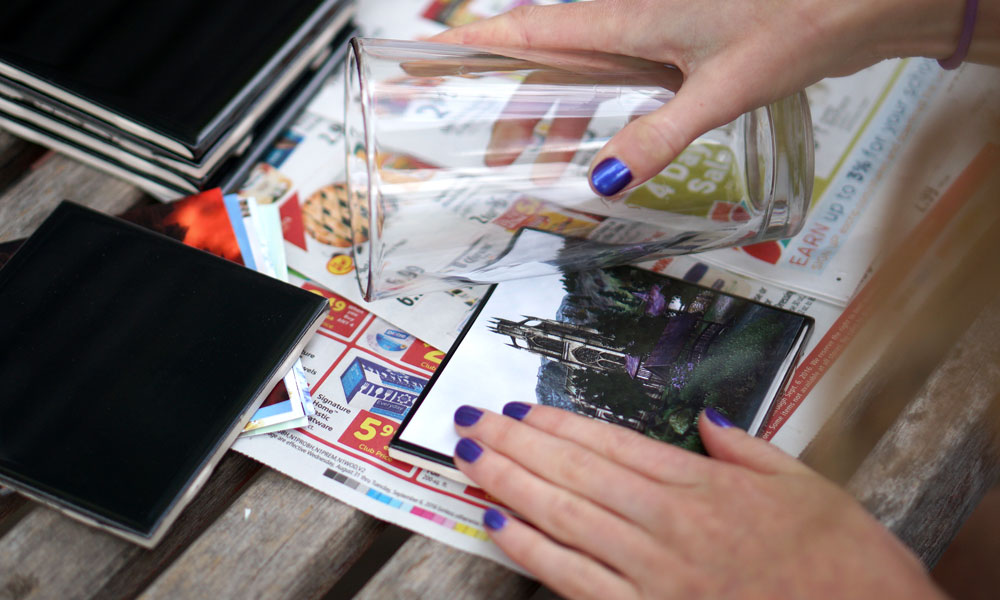
4. Roll-out any air bubbles
Use slight pressure on a rolling pin or glass tumbler (pictured) to roll-out any air bubbles that may be forming between the tile and the paper and ensure you have a flat, even bonding. Using heavy stock paper helps reduce air bubbles on this step.
5. Let the adhesive dry
Let the adhesive dry for 15 minutes
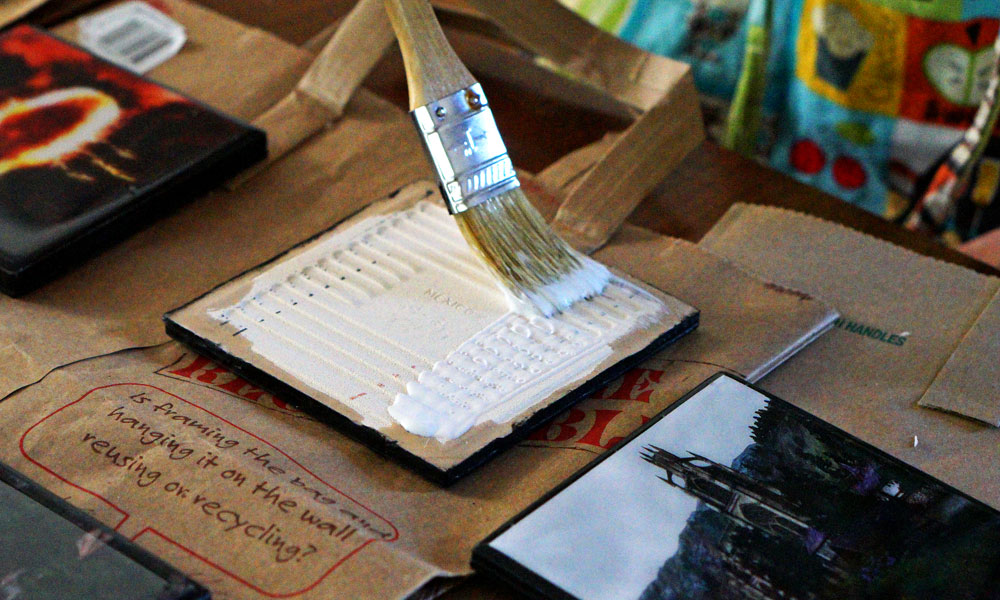
6. Coat the tops with adhesive
Once the adhesive has set, paint an even layer of Mod Podge in a single direction, on the top of the prints and the exposed edges of the tile. The adhesive will dry clear and create a protective layer above the prints so they are not damaged by the resin.
7. Dry again
Let the first top protective layer of adhesive dry for 15 minutes
8. Coat the tops with adhesive again
Apply a second layer of Mod Podge on top of the prints in a perpendicular direction to the first. This ensures total coverage and extra thickness.
9. Dry overnight
Let dry overnight (about 12 hours)
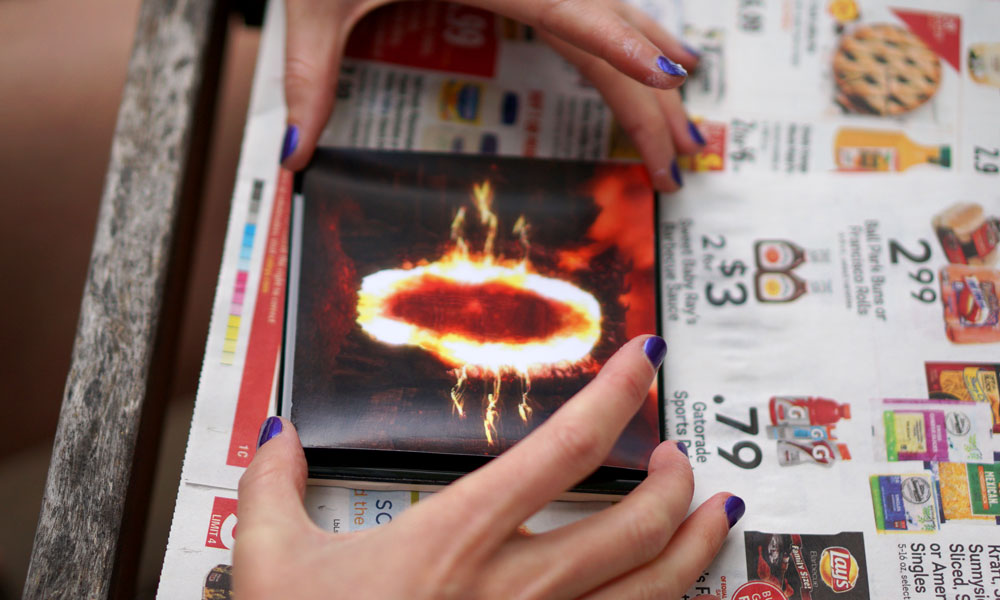
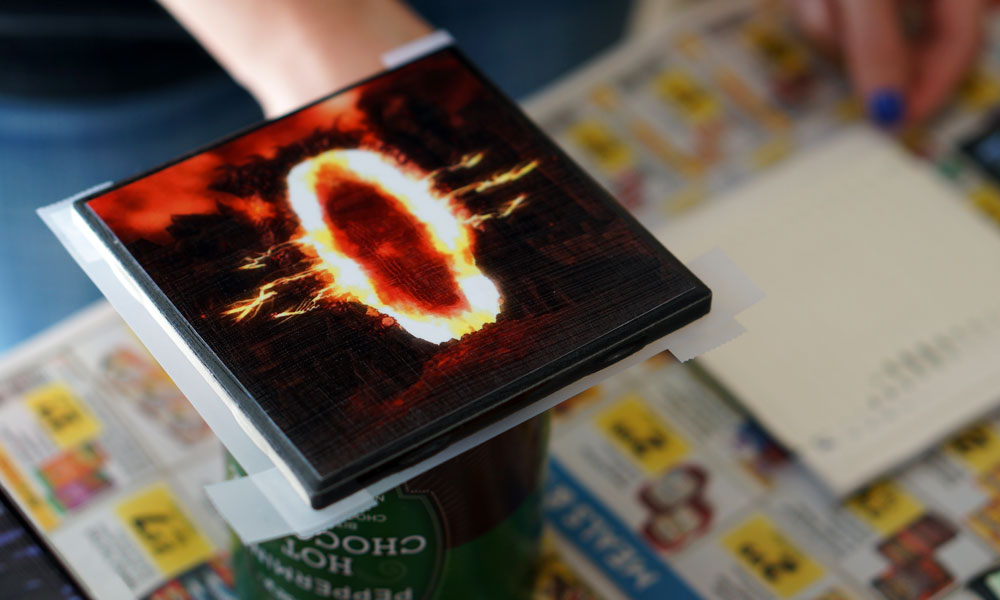
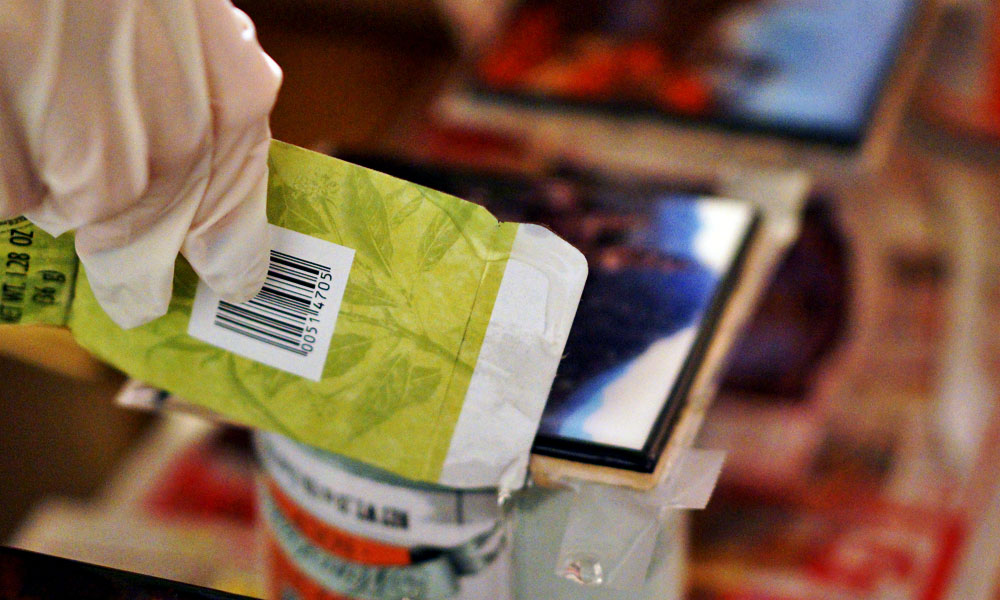
10. Tape the bottoms
Apply scotch tape to the bottom edges of the tiles. This will protect the bottom of the tiles from dripping resin, so when the tape is removed the tiles will still have a crisp edge to apply the foam padding to.
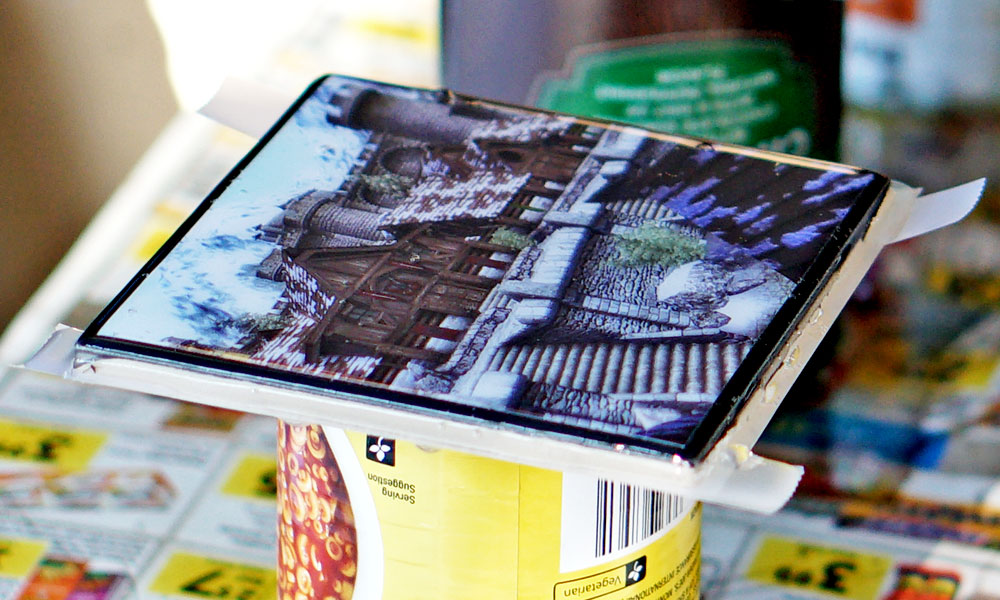
11. Set up shop
Put down some newspaper and arrange some stands with the tiles sitting level on top of them (make sure they are level).
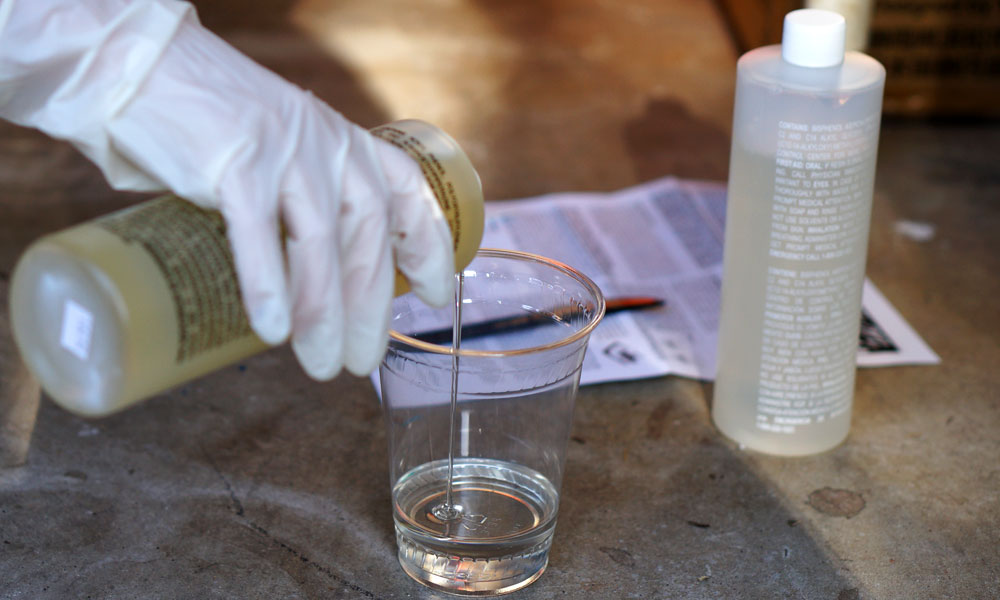
12. Mark volume lines on the cups for mixing
In one of the two plastic cups measure out 1/2 cup of water and draw a line on the outside of the cup at the water level. Then add another cup and draw a second line. Make sure to measure volume as the resin only works with equal amounts of liquid. Most plastic cups are slanted, so measuring with a ruler or eyeballing amounts will have undesirable results.
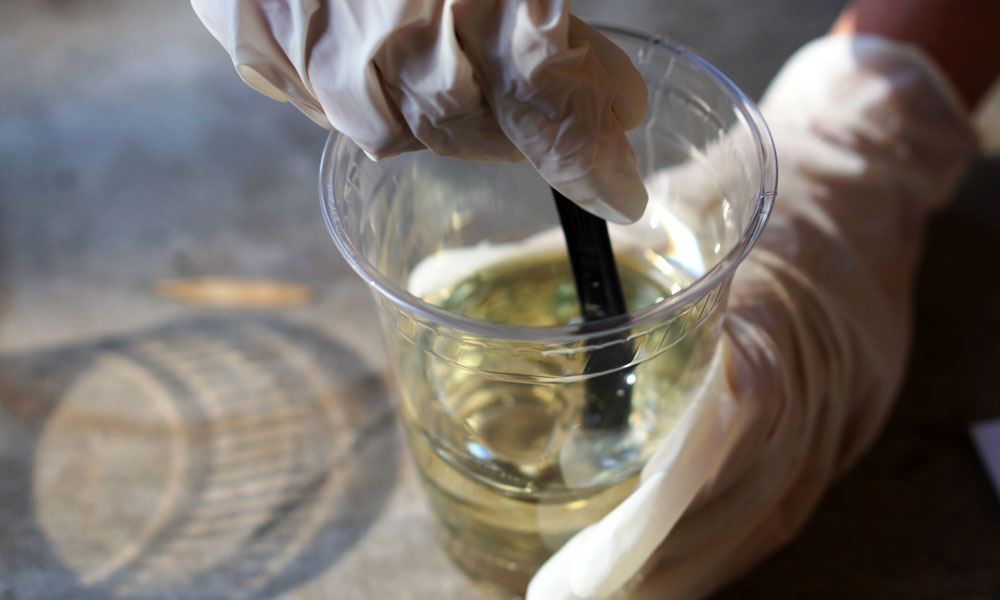
13. Mix resin
Mix for 2 minutes, transfer, mix for 1 minute
Being sure to feel very "Breaking Bad", pour the resin in first, up to the first line, then add the hardener to the second line and mix well for 2 minutes (set a timer). Then pour the mixture into the second plastic cup (wtf? — but that's what the directions insist you do), and mix for 1 minute (timer).
You may have to do a few batches depending on size and how many coasters you are making. We needed 2 batches to do all 9 of our large coasters. If you do more than one batch, use 2 new plastic cups for each mixing step.
Note: Do not use a tapered cup as pictured here! It will cause your 50/50 mixture to be inexact and the resin may not harden perfectly! Our coasters came out slightly tacky 😩
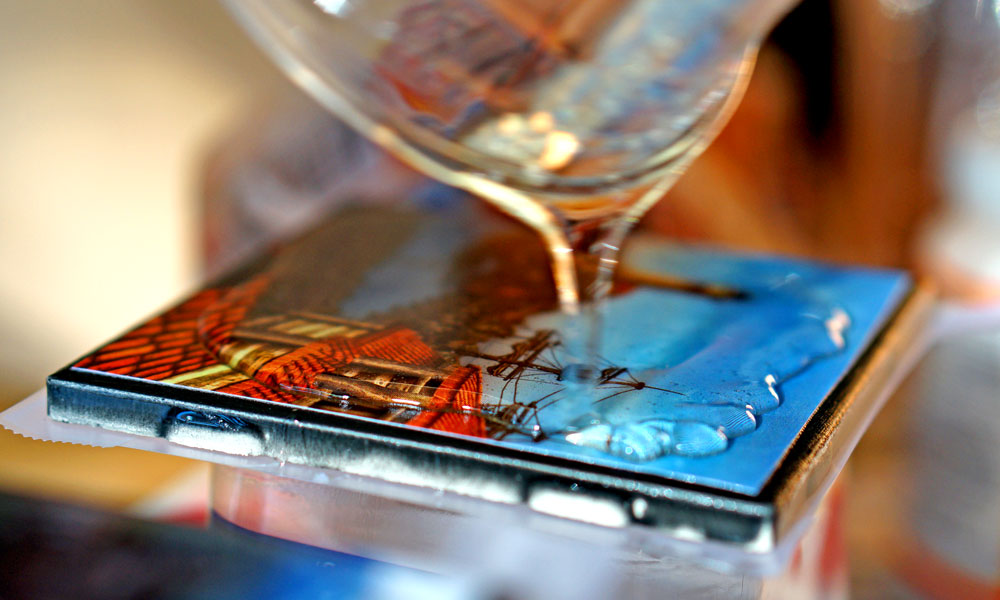
14. Pour resin
Gently pour the resin on top of each of the tiles, starting from the center of the tile and spiraling out to the edges.

15. Check for full coverage
Gently nudge the edges and the corners of the resin on the tiles with a piece of cardboard and make sure you have full coverage.
16. More drying!
Wait 15 minutes for initial drying
You will see small bubbles forming and rising to the surface.
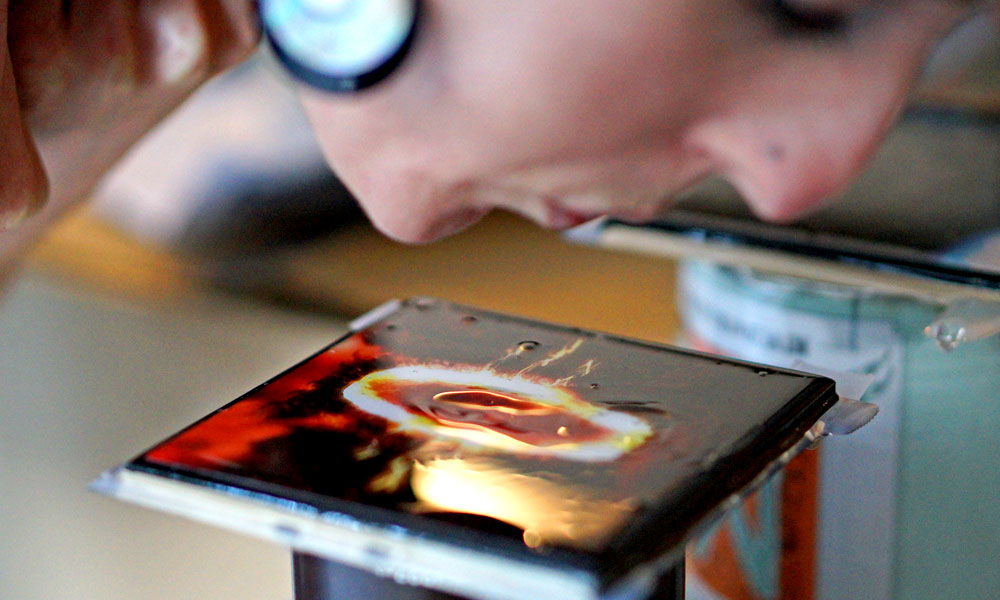
17. Pop the bubbles by blowing
After initial drying, blow on the tiles to pop the air bubbles. For some of the air bubbles you may need to blow a bit hard to pop them. The resin will spread a bit but should still be soft enough to re-form into a level surface.
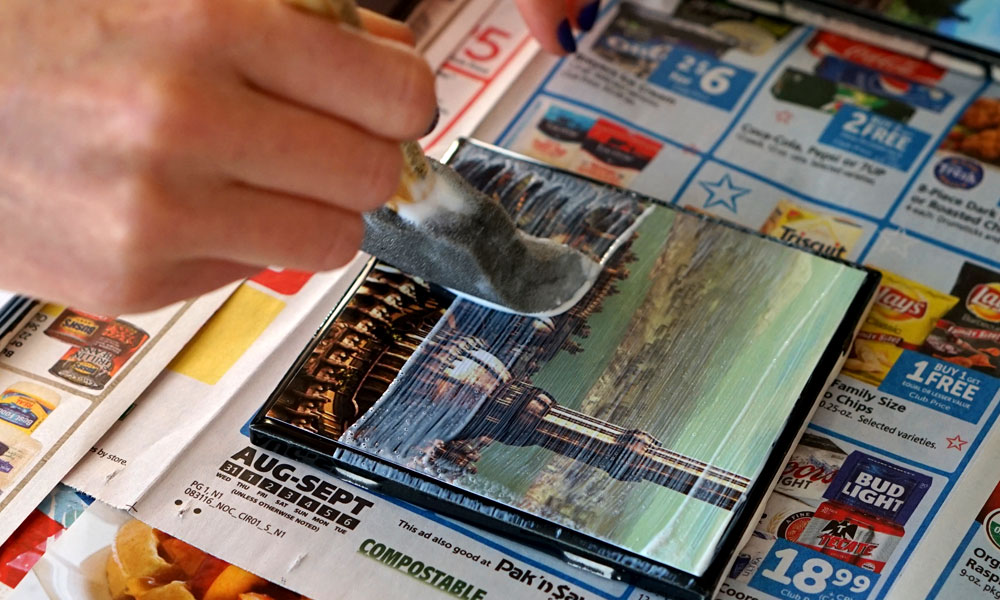
18. Scrape off excess resin
With a piece of cardboard, gently scrape away any excess resin from the edges of the tiles that have pooled on top of the scotch tape. Don't scrape too much as we want the resin to encase the top and sides of each tile.
19. The final dry!
Let dry for 72 hours (they can safely be moved after 24 hours)
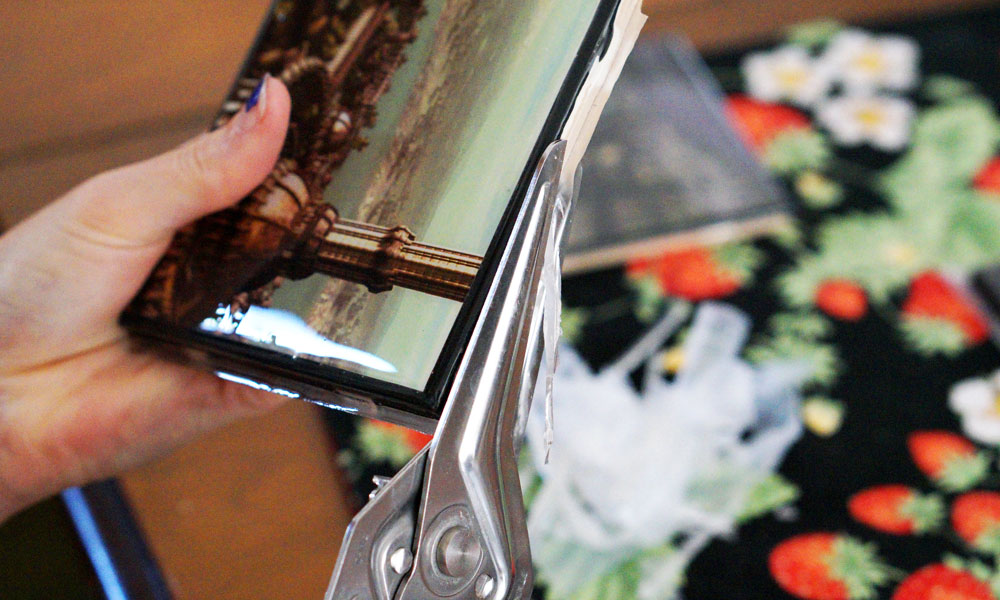
20. Remove tape
Once the resin is completely dry, remove the tape.
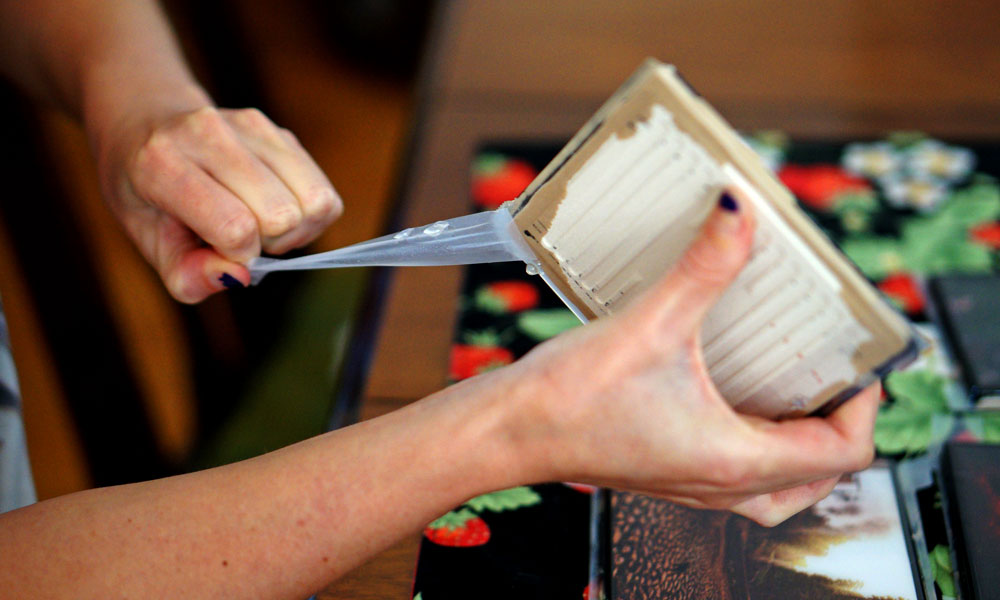
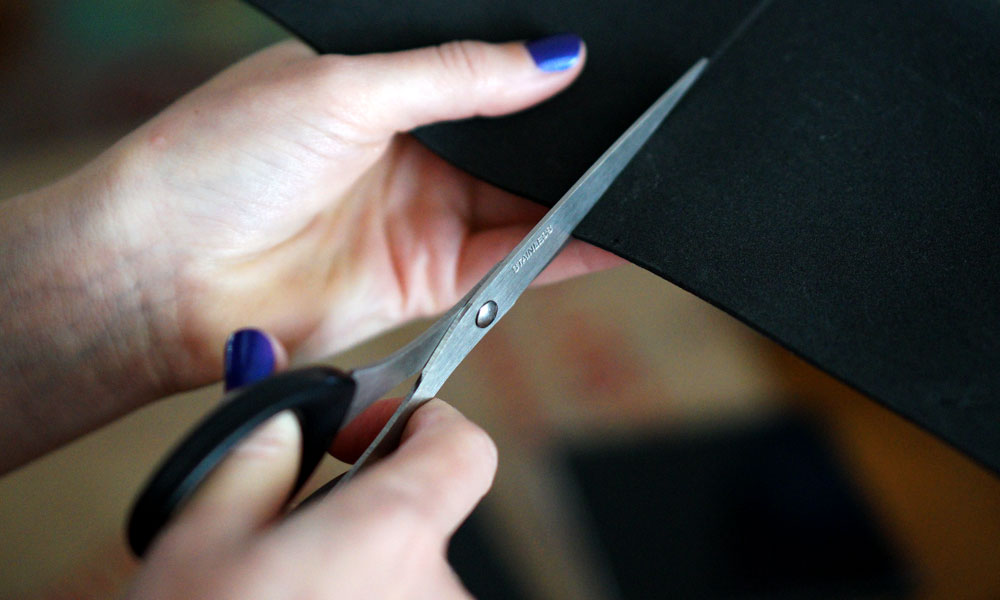
21. Cut off excess resin
With a sturdy pair of heavy duty kitchen scissors, cut the excess resin off the edges of the tiles.
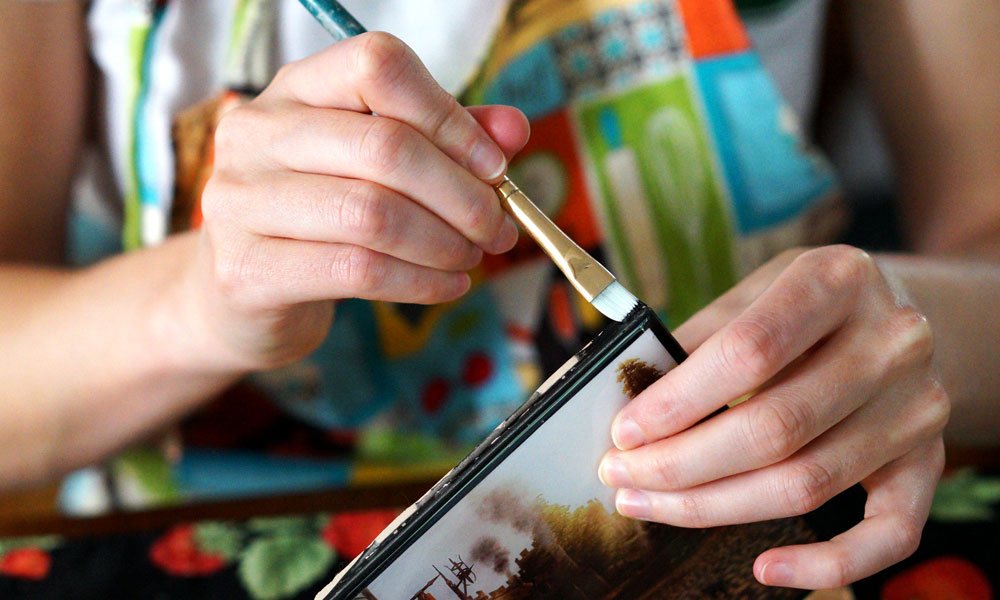
22. Touch ups (optional)
We noticed the edges of the tiles were a bit inconsistent so Meg painted the edges black to match the tops. Looks sweet!
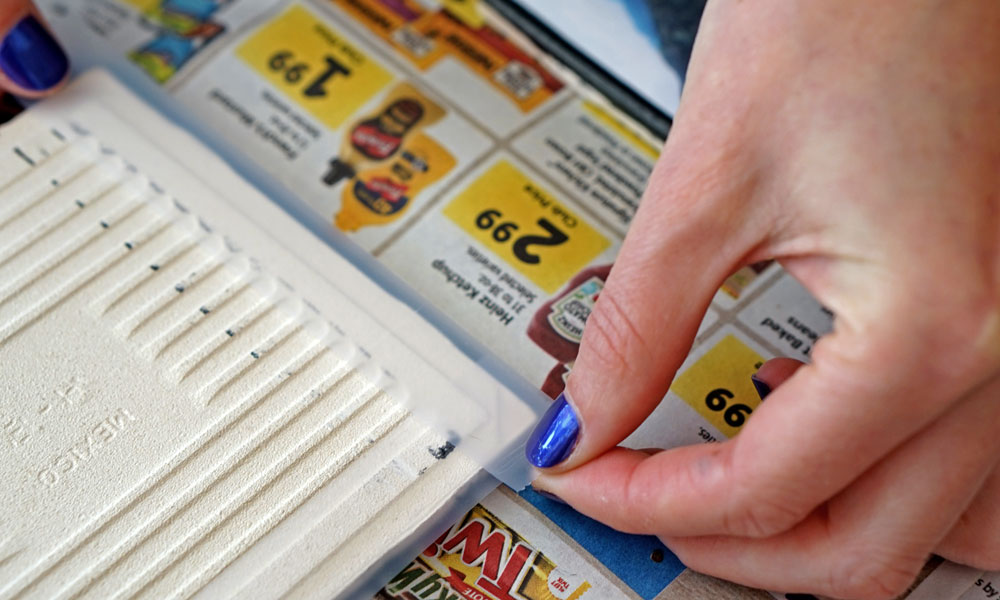
23. Cut out the footers
Cut the 2mm Foamies sheets to the size of your tiles.
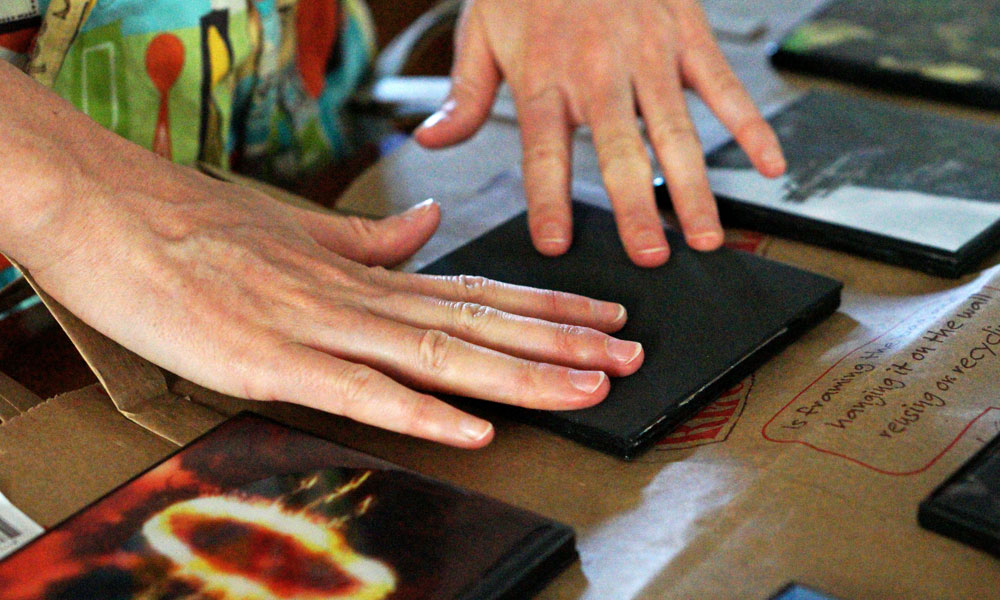
24. Attach the footers
Apply a thick layer of Mod Podge to the bottom of the coasters and firmly press the foam layer into it, flattening out the glue before it dries.
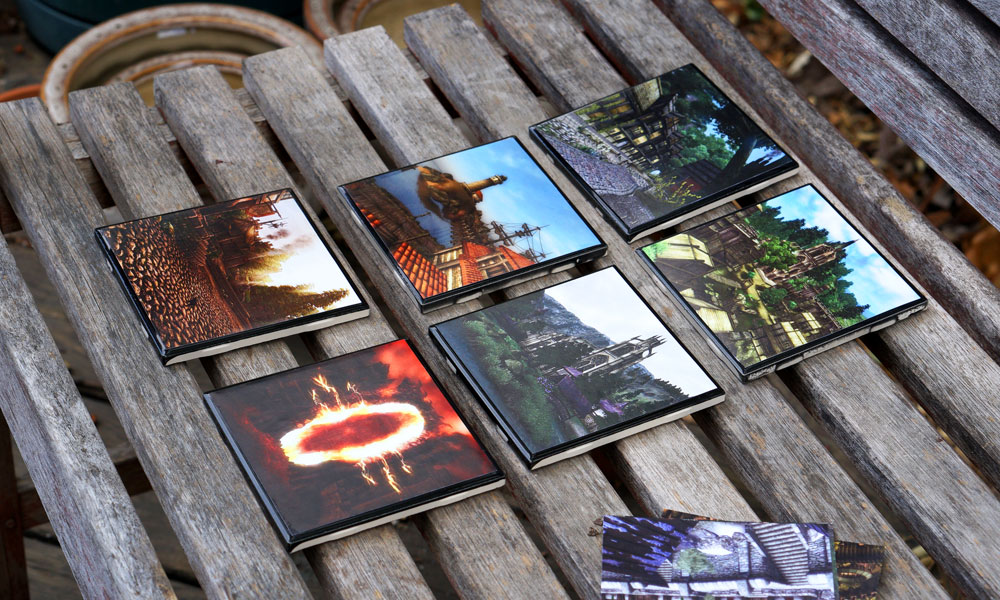
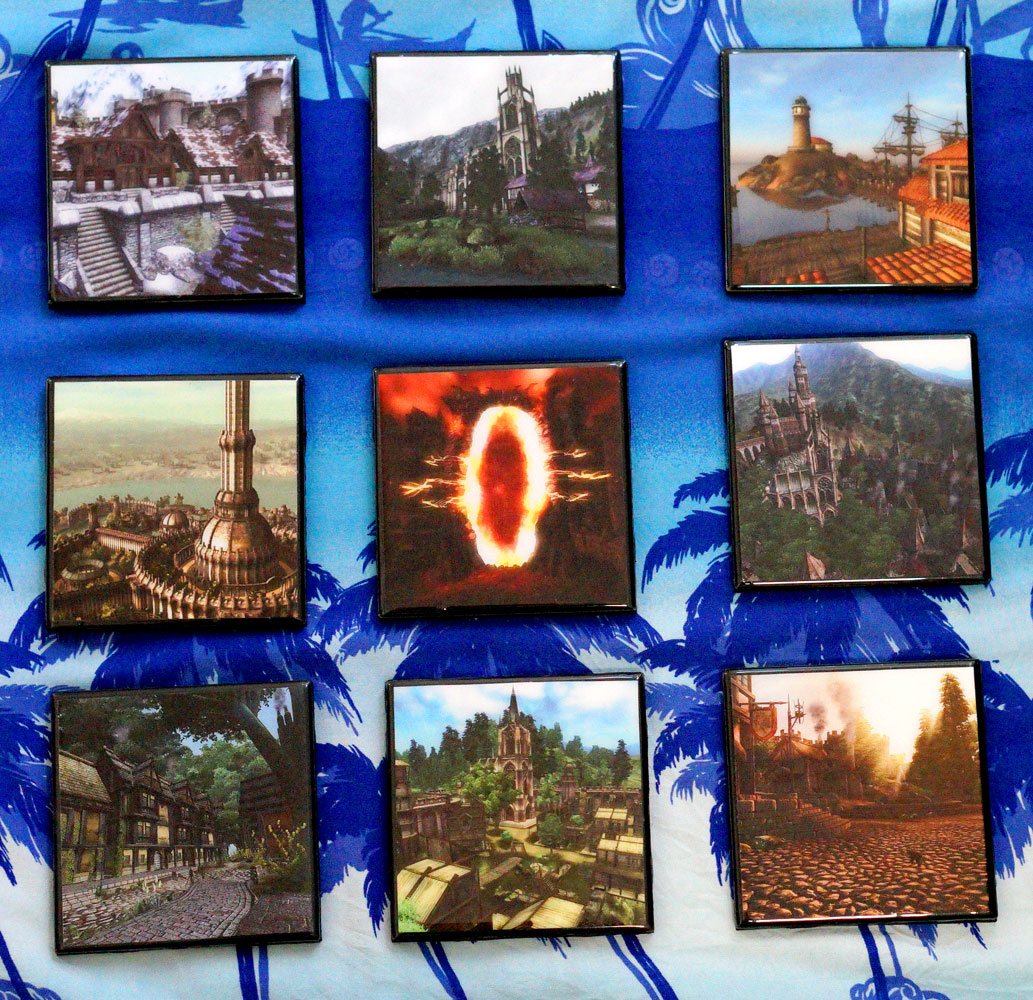
25. Done!
Homemade Oblivion coasters! The cities of Cyrodiil from left to right: Bruma, Cheydinhal, Anvil, The Imperial City, Kvatch (Oblivion gate), Leyawiin, Skingrad, Bravil, and Chorrol.
Comments