Sony Alpha Battery Life Tips
The Sony Alpha mirrorless cameras have notoriously short battery life. This comes with the territory of an incredibly lightweight camera packed with awesome features. Often after a few hours of constant shooting you'll find your battery is completely dead. The good news is that with a few modified settings and an awareness of your battery usage, a single Sony battery can last an entire five day backpack trip. Here are my Sony a7 battery life saving tips, pulled from my personal experience and scavenged from the Internet.
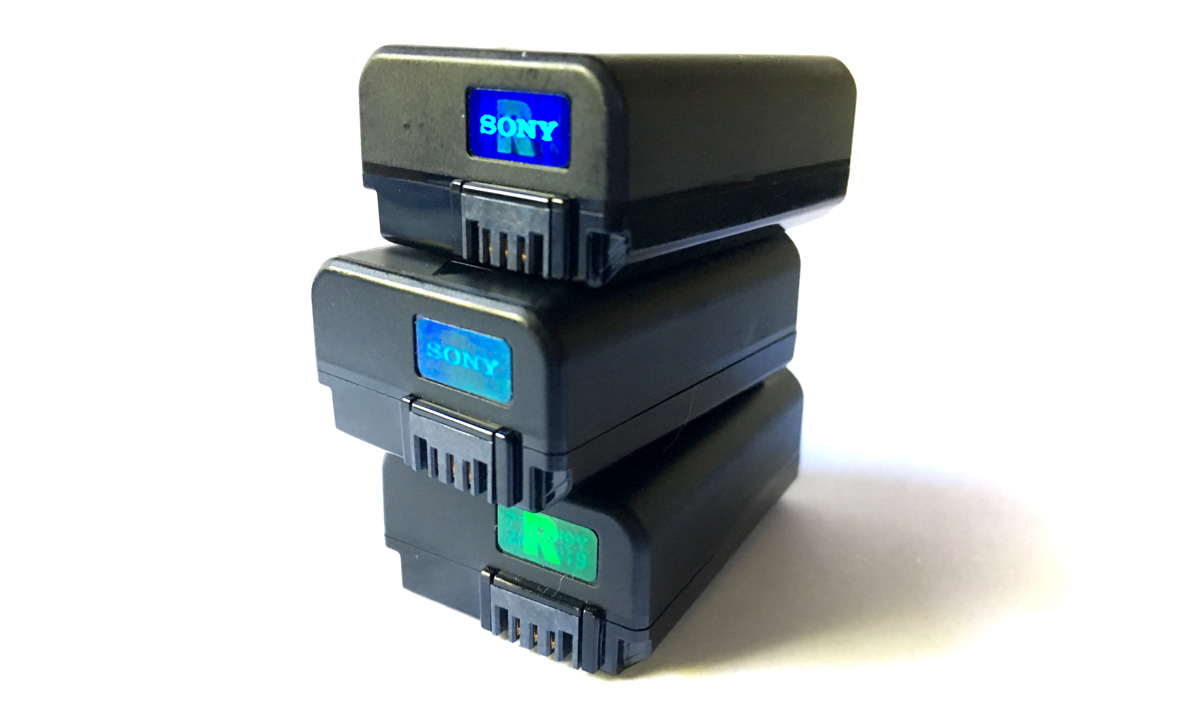
Sony Alphas use the FW50 Rechargeable Battery Pack. I always like to carry at least a few of these. My advice is to stick to Sony's brand name batteries and avoid the cheaper 3rd party manufacturer batteries. The Sony batteries are more reliable and have a much longer lifespan.
Energy Saving Camera Habits
Before we get to modifying settings, remember to keep these camera usage tips in mind.
- When you aren't actively shooting, turn your camera off. This is an easy habit to form and luckily the Alpha series powers up quick.
- Remove the battery when the camera will not be in use for an extended period, such as overnight. Even when your camera is off, the battery will slowly drain.
- Using manual focus will reduce battery strain since autofocus uses battery power to move your lens' hardware via an autofocus motor.
- Use a fast memory card. This reduces time your camera spends writing RAW and/or JPG files to memory, and thus reduces battery usage.
- Lower ISOs will use less battery. This is because the camera has less to process (this also makes your photos sharper). Low ISO isn't always possible due to light conditions, but keeping this in mind is a good general practice and will conserve battery life.
- Simply carry extra batteries. Sony batteries are lightweight and compact. I carry three. Finally, remember to charge them the night before a trip or day of shooting.
Energy Saving Camera Settings
The following Sony Alpha camera settings (accessed via the Menu button) will help you conserve battery power. Some settings make a bigger difference than others. These settings lean towards maximum battery life and not convenience. I've noted below how I modify these settings based on my personal preference and what kind of availability I'll have to recharging. For example, on a long backpack trip I use all or most of these settings, while on an ordinary day of shooting I only use a few.
- Dim the screen and viewfinder
Menu → Toolkit Icon → Monitor Brightness → -2Menu → Toolkit Icon → Viewfinder Bright. → -2- Depending on your physical setting, such as a bright room or landscape, dimming the monitor might result in accidentally overexposing your photos. I find this is less of a problem with the viewfinder dimmed than the LCD screen dimmed. When I'm not worried about battery life I typically keep these settings at zero.
- Enable Airplane Mode
Menu → Radar Icon → Airplane Mode → Off- I always keep this off and it does wonders for saving battery life. I'll temporarily enable this if I need to trigger my camera remotely or transfer photos to my phone. Then immediately switch it off.
- Turn off Auto Review
Menu → Gear Icon → Auto Review → Off- I missed this feature at first, now it bugs me to have it on. If I need to review a photo I can at the click of a button, if I don't I'm not forced to do so. This saves battery life by reducing time between each photo you take and the total amount of time the camera is on. Alternatively you can reduce the auto review duration instead of turning it off completely.
- Turn off the viewfinder
Menu → Gear Icon → FINDER/MONITOR → Monitor- The high resolution electronic viewfinder (EVF) on the Sony Alpha cameras actually use more energy than the LCD screen. But I rarely turn this setting off because I like to use the viewfinder to compose photos, especially on bright days. However, I have switched this off on longer backpacking trips where I have a finite number of charged backup batteries.
- Turn off Pre-Autofocus
Menu → Gear Icon → Pre-AF → Off- The Pre-Autofocus setting will set the camera to continuously trigger autofocus even before you touch the shutter button. I shoot in manual focus the vast majority of the time so I always keep this setting off to save battery life, unless I'm going to be constantly using autofocus for action or candid shots.
- Default to Manual Focus
Menu → Camera Icon → Focus Mode → Manual Focus- The focus setting is persisted between power ups so this is just a reminder to set it back to Manual Focus after you are done taking photos with autofocus before powering down. This way your camera is always ready-to-go and optimized for maximum battery life.
- Turn off Noise Reduction
Menu → Camera Icon → Long Exposure NR → OffMenu → Camera Icon → High ISO NR → Off- The High ISO and Long Exposure Noise Reduction settings use in-camera processing to reduce noise and "hot pixels" that result from long exposures. These processes take time and computation and thus suck away battery life. I find this kind of smoothing is much better to do in my post-process work flow. Turning off Long Exposure NR in particular cuts the time it takes to capture a long exposure in half because the camera doesn't have to take a second "dark-frame" long exposure to subtract the hot pixels. With this setting on, a thirty second exposure will take sixty seconds to capture, plus processing time, all the while draining your precious battery life.
- Turn off the Autofocus Illuminator
Menu → Camera Icon → AF Illuminator → Off- This setting projects a light so autofocus has a bright subject to focus on and of course uses battery power. Turning the Autofocus Illuminator off and using manual focus, as usual, is your best choice for maximizing battery life.
- Decrease the Power Save Time Start duration
Menu → Toolkit Icon → Power Save Time Start → 10 sec- This is how quickly your camera will sleep when idle. Setting this to the minimum setting of ten seconds will kick in power saving sooner, ensuring maximum battery power, however I find that this gets annoying if I'm spending more than ten seconds composing a photo (which I do often). I typically leave this setting at one minute and just remember to be diligent about shutting the camera all the way off between shooting.
- Reduce Display Quality
Menu → Toolkit Icon → Display Quality → Standard- I can wait until I get back to my computer to see full resolution images, so I typically reduce the LCD's display quality to Standard to save battery power.
- Disable Dynamic Range Optimization and Auto High Dynamic Range
Menu → Camera Icon → DRO/Auto HDR → Off- Similar to the noise reduction settings, the Dynamic Range Optimization and Auto High Dynamic Range options use in-camera processing which takes time and uses battery power. I often like the results of the Dynamic Range Optimization levels and so I adjust this on a photo-by-photo basis. An important note is that DRO will affect your RAW images on the Sony in non-Manual modes, so use wisely and bracket.
- Turn off Audio
Menu → Toolkit Icon → Volume Settings → 0Menu → Toolkit Icon → Audio signals → Off- Aside from being annoying, the Audio signals (such as the beep when focusing) powers a small speaker which of course uses battery power. I keep this off all the time. I also turn the camera's volume to zero so I'm not using power driving the speaker if I playback videos. This can typically wait until I get back to a computer as the Audio Level Display will let me know if my audio is distorting and the speaker on my Sony a7 is not a high quality audio playback device.
Thanks for reading my tips and settings for maximizing the battery life on your Sony Alpha camera. If you have more tips or suggestions please leave them in the comments for others.
Comments